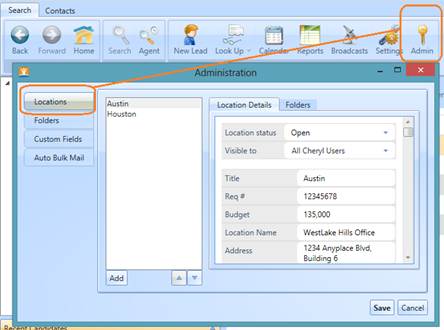
Step
One: Locate the
“Admin” button on the upper navigation bar and click the “locations” tab.
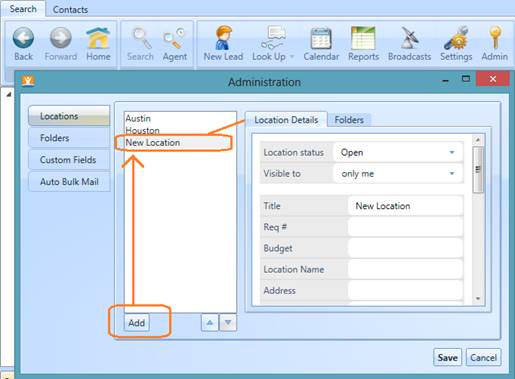
Step Two: Click “Add” to begin adding details for you new location.
Step Three: To adjust the order in which your locations appear in your org
tree, click a location from your list so that it is highlighted, then use the
“up” and “down” arrows to update the list.

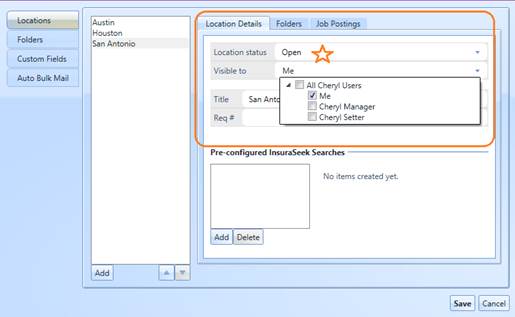
Step
Four: Within the
“location details” tab, select your location “status.” Open will show the
location in your org tree, “closed” will keep the job hidden from your tree
until you change the status to open when ready. In addition, you can select who
in your organization also has access to this location folder by clicking beside
the member name in the “visible to” drop down list. You
can hide, or show the folder to you and your team members. Please note:
“hiding” a location does not “close” it – it simply hides it from showing in
the organization tree. If you wish to close a location – ceasing activity for
it, you must change that from the location status field. Be sure you have the
appropriate location selected from your location list, prior to closing a
location.
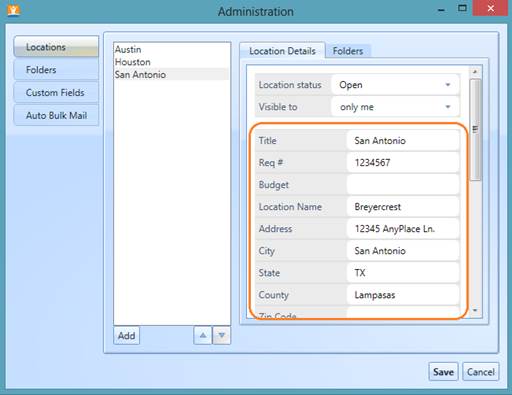
Step Five: The next set of fields are for details for that location. The
Title field will establish the location name in the tree. Fill in as many
detail fields as you need for your business process.
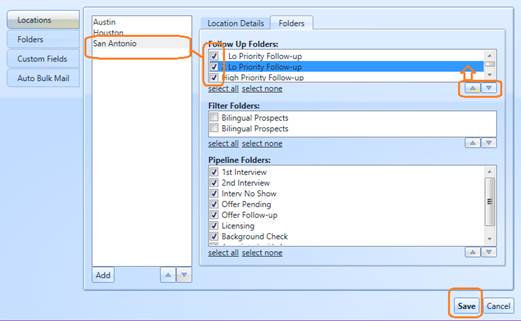
Step Six: When you have completed your fields in the “location details” tab,
you can establish which folders are visible for this location by clicking the
“folders” tab. Again, check to make sure you have your desired location
highlighted in the location list. Then, opt to remove any existing folders by
clicking the check box beside the applicable folder name. You can also change
the order of the folders using the directional arrows in the right corner of
the folder list. Click save, to preserve your changes.
Step Seven: Click
“save” to preserve your new location and add it to the org tree.
