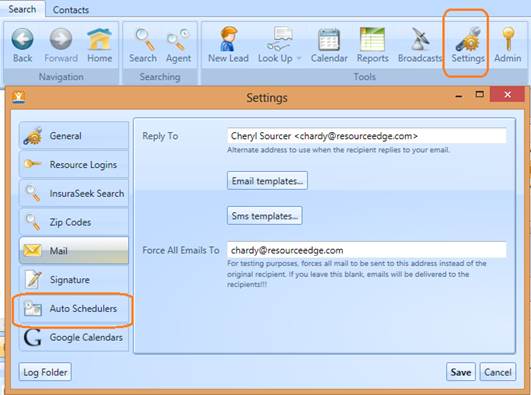
Step
One: To
create your auto scheduler link that you will send to candidates, you must
create the event. Begin in the “settings” tab and click “Auto Schedulers”
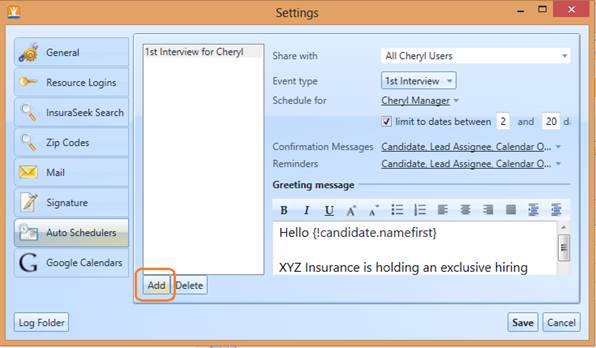
Step
Two: Click “add” to
create a new auto scheduler for an associated hiring event.
Step
Three: Select the
users you want this scheduler to be shared with.
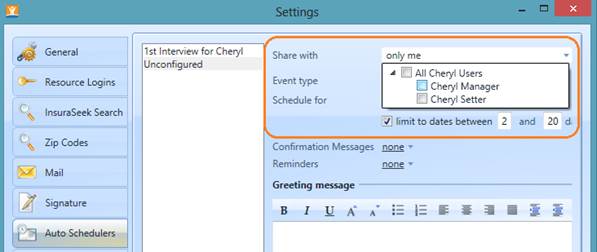
Step Four: Next, select the event type - these are associated with the
folders in your org tree, your lead progress events. This will set the name in
the left column.

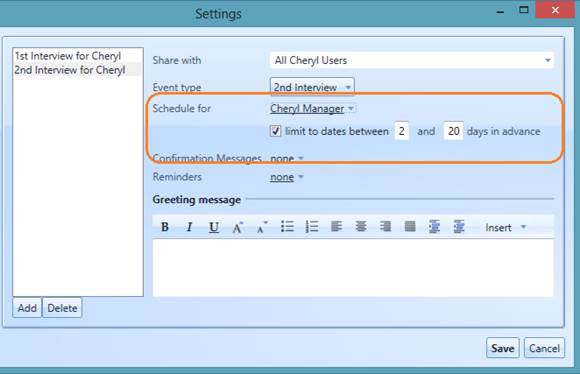
Step
Five: If you have
multiple types of logins on your account, you can schedule events for others.
If you do not have special logins for your account, you will see “Me” as the
only option. Select that. Then set the controls for how soon or how far in the
future candidates can schedule their interview. This will set a range of dates
to limit the number of available dates the candidate will see on the calendar
link they receive.
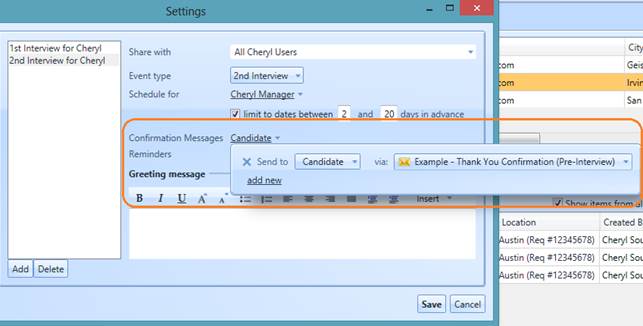
Step
Six: Next, set up
the confirmation notifications and reminders you want the recipient to receive
once they schedule an event. The first time you use the scheduler, you will
need to create the email content or select from an existing template. Your
confirmation message will go out as soon as the candidate schedules. The
reminders will go out for whatever time interval you establish for yourself and
the candidate.
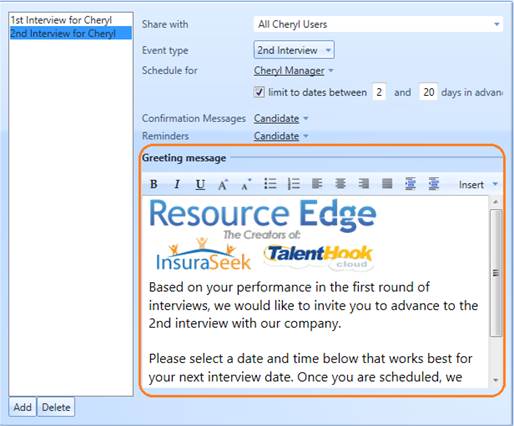
Step
Seven: Next,
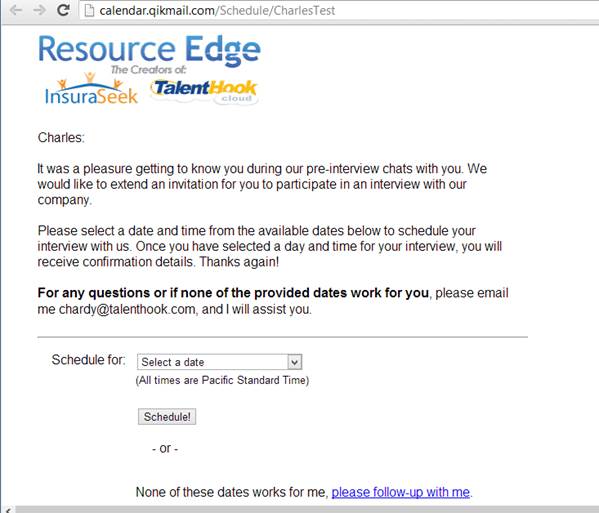
create the content the recipient will view in the invitation link. You will
complete this in the greeting message content box. This information will
display in a web page, so make the content attractive and begin the message
with a logo that immediately identifies you. Your finished message should look
something like this:
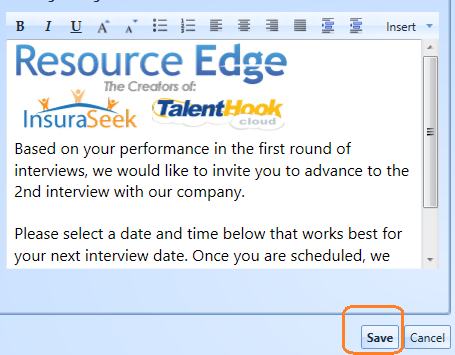
Step
Eight: Once your
message is set, click save, the save the completed auto scheduler box.
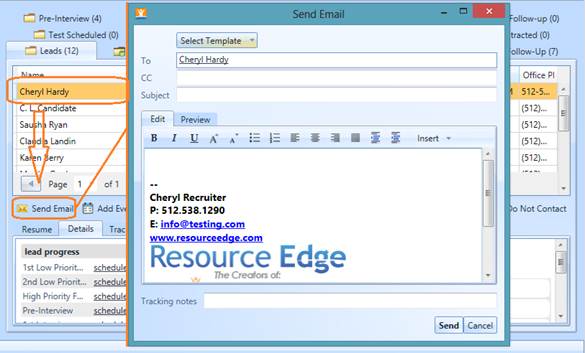
Step Nine: Proceed to your search or leads activity, to select the
candidate you want to send an auto scheduler invite to. Click the name of the
candidate, then click “Send Email” to send the candidate an invite to schedule
their next interview.
Step
Nine: From here,
you can create a “scheduler” email by selecting “manage my templates.” In the
body of your template, you can create space for the scheduler link to use for
future scheduling events and save it to your library for future use as shown
below.
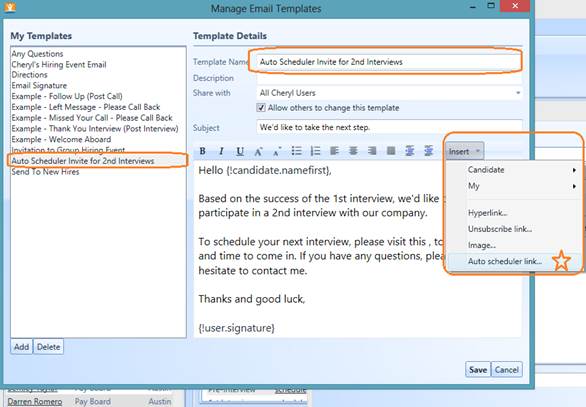
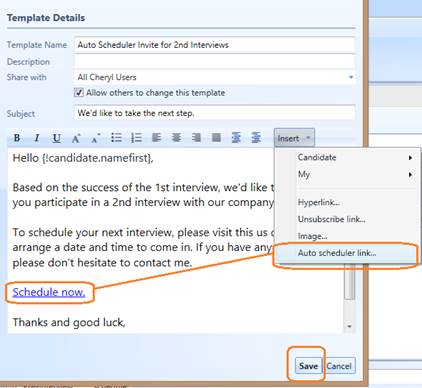
Step Ten: Then, using the “insert” drop down menu, locate and insert the
schedule link where appropriate in your email body copy. Be sure to click
“save” to make this template available for future use.
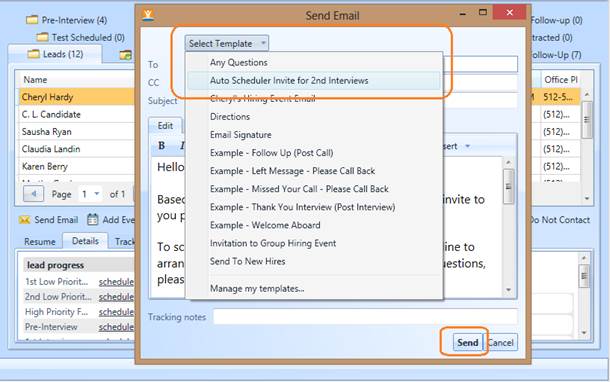
Step Eleven: Clicking “save” returns you to the send email screen.
Select your template you just made, then Click “send” when you are ready to
send.
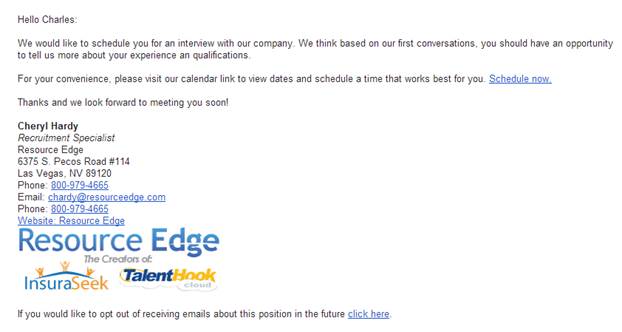
Step
Twelve: Your
recipients email invitation will look like this, once the email is sent:
Step
Thirteen: The
invitation link takes the candidate to a schedule page that looks like this:
Step
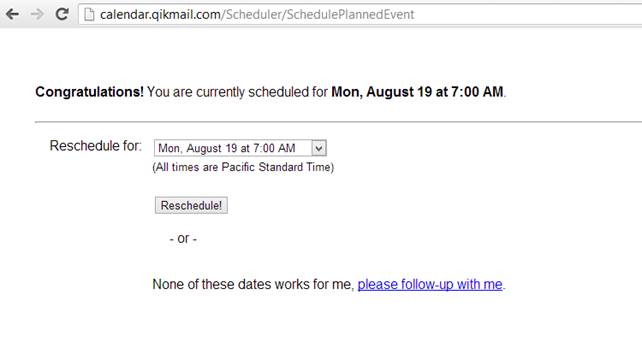
Fourteen: If the
user should need to reschedule their event, following the invitation link from
the email will allow them to reschedule, which will look like this:
Step
Fifteen: To block
out times in you or your Manager’s calendar for this auto scheduled event, create
a “planned” event in the application following the steps in the “How do I
create a planned event?” help topic.