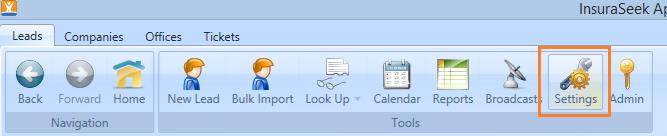
Step One: Begin on the upper navigation bar, click the “settings” button.
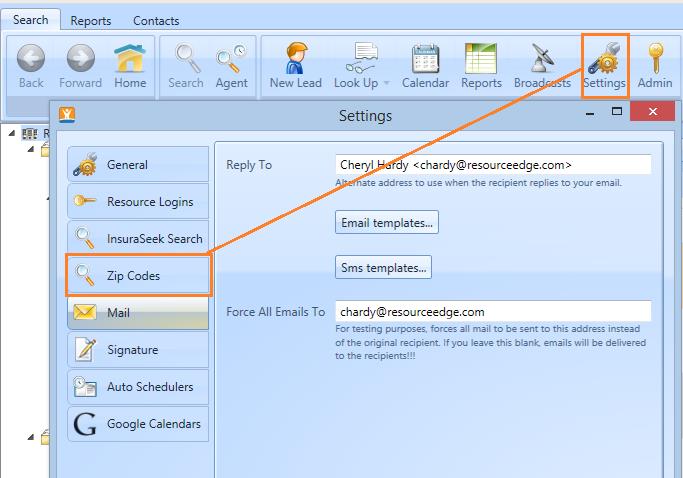
Step Two: Locate and click the “zip codes” tab.
Step Three: On the right hand side of the window you will see a column containing your locations.
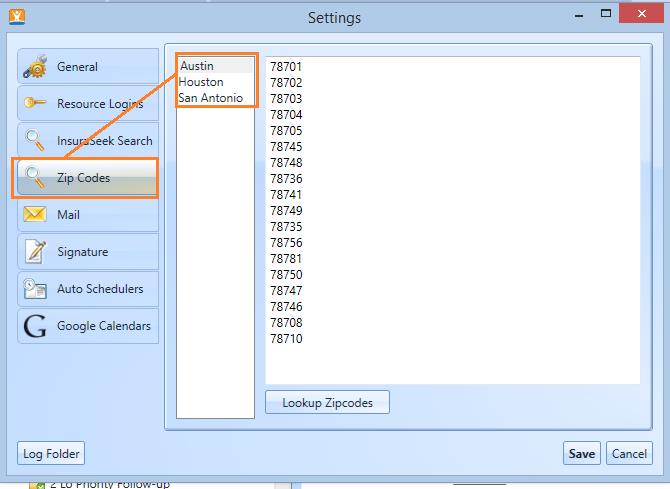
Step Four: For each location, there is a field to the right to capture all of the zip codes you want to search for available talent. To quickly identify zip codes for a location, use the “Lookup Zip Codes” button located near the bottom of the window.

Step Five: In the zip code lookup, enter the city, or the zip code you want to begin with. Then, set your radius around your city or zip code and click “find zip codes.”

Step Six: Your zip code list will populate in the table below broken down into the cities within your radius, and all of the zip codes contained in each. Beside each city or area, the check box can be used to remove any cities you don’t want included in the list of final zip codes. If your list is long, you can use the select all/select none option to check all, or uncheck and manually add your desired cities.

Step Seven: Click “use these zips” to insert the selected zip codes, into list field for your highlighted location. If you already have a list of zip codes, and you want to refresh them, you can click the “replace my existing zip codes” button to replace a previously generated list.

Step Eight: If you have zip codes you don’t want to pull results from in your list, you can manually highlight them, and delete them by hitting the delete button on your keyboard…and then click “save” to preserve your changes. Remember, you want to have zip codes selected for every location you have in your product.
